
I have started work on construction of the tiles to top my wargames table. I'd sized things in such a way that from five 8' x 4' sheets of 9mm MDF I could get:
- eight 2' x 3' sections - these would form my table top and under-table shelves,
- twenty-eight 2' x 2' tiles.
Q: Why on Earth do I need 28 tiles?
A: I don't. I need 14 tiles.
Q; Why? It's only a 6' x 4' table - you can't fit more than 6 tiles on it? And why do you need 28 "bits"?
A: Because each one is 9mm thick and I have a hair-brained plan...
I'll try and explain.
16 of my 28 "bits" will have a river section, pond or shoreline cut into it and then be glued back-to back with another tile. The shoreline sections will be backed with a pond, and the others will be backed with an uncut square tile. I'll be doing this twice over - each tile will be double-sided with a grassy finish on one side and a wintry "ash-waste" on the other. I've tried to mock up what one set might look like in this dodgy little diagram:
 |
| This is intended to show each tile top (upper) and the lower that will be glued back-to-back with it. |
The key things here are to ensure that:
Each tile is a perfect square - the local DIY store's timber cutting service did that for me.
Each river section starts and ends in exactly the same place on each tile.
That's where my doohickey comes in.
I simply got a couple of offcuts of wood & MDF left over from building the table:

You can see I've ruled a line across the bigger section - that marks where the smaller section will be screwed in place, like this:
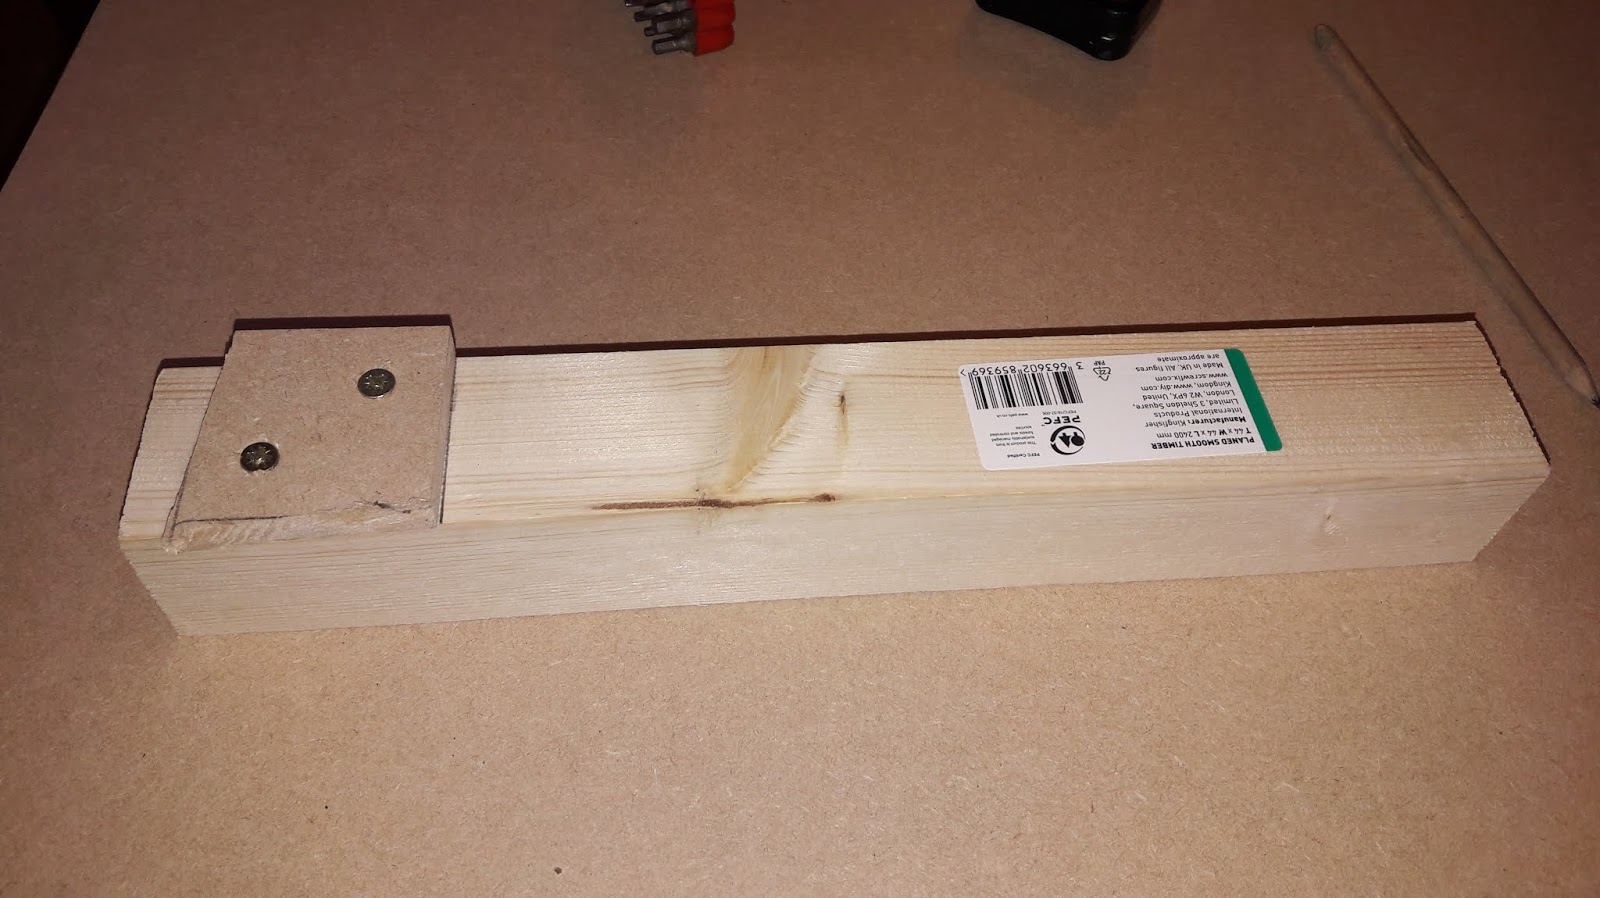 |
| My doohickey |
I have used the tool to measure the points on the edges of the tile where the river exits. Doing this I can guarantee that each tile will be consistent and that the river will exit (as long as I cut it correctly!) in the dead center of every tile.

So, here is the end result on my first tile:

No comments:
Post a Comment
I'm interested to hear what you think. Please leave any comments you'd like to make here.